![Can You Buy a Pre-Made Shopify Store[Experts Opinion]](https://bebiggy.com/wp-content/uploads/2023/10/Can-You-Buy-a-Pre-Made-Shopify-StoreExperts-Opinion.png.webp)
Can You Buy Pre Made Shopify Stores?
The question of whether to build your online store from the ground up or invest in a pre made Shopify store has been gaining momentum. The allure of a turnkey business solution is undeniably tempting, but is it a wise choice?
In this blog, we’ll explore the pros, cons, and expert opinions surrounding the concept of purchasing pre made Shopify stores. Join us as we delve into this intriguing dilemma and uncover insights that can steer your e-commerce journey in the right direction.
What are pre made Shopify stores?
Pre made Shopify stores are Shopify stores that have already been built and set up. They typically include products, a website, a payment system, and other features needed to start an online business.
Why do you need to buy a pre made store?
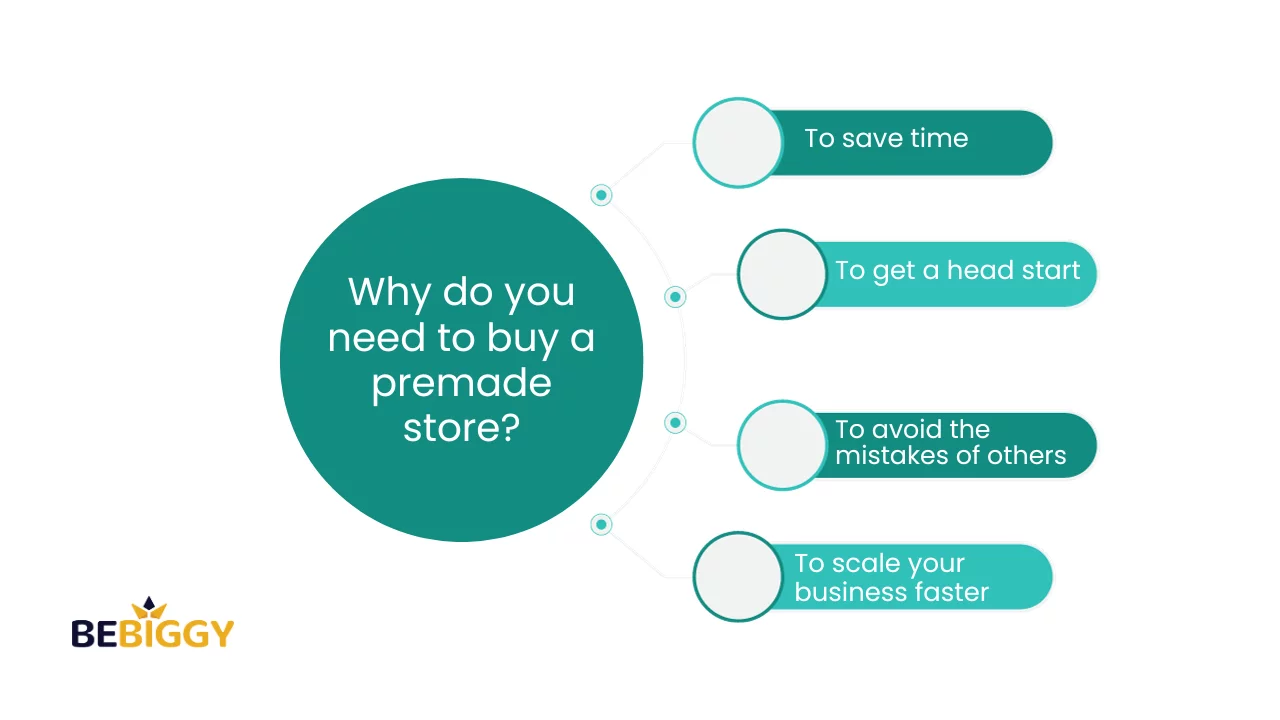
There are several reasons why you might want to buy a premade Shopify store:
- To save time: Starting an e-commerce business from scratch can be time-consuming. Buying a premade store can save you a lot of time and effort, as the store will already be set up with products, a website, and a payment system.
- To get a head start: Buying a premade store can give you a head start on the competition. You will start with an established store with a customer base and a sales track record.
- To avoid the mistakes of others: If you buy a premade store from a reputable seller, you can avoid the mistakes that other entrepreneurs have made. The seller should be able to provide you with information about the store’s traffic, sales, and profitability.
- To scale your business faster: If you already have an e-commerce business, buying a premade store can be a great way to scale your business faster. You can add the new store’s products to your existing store or keep the stores separate.
Where Can you buy pre made Shopify stores?
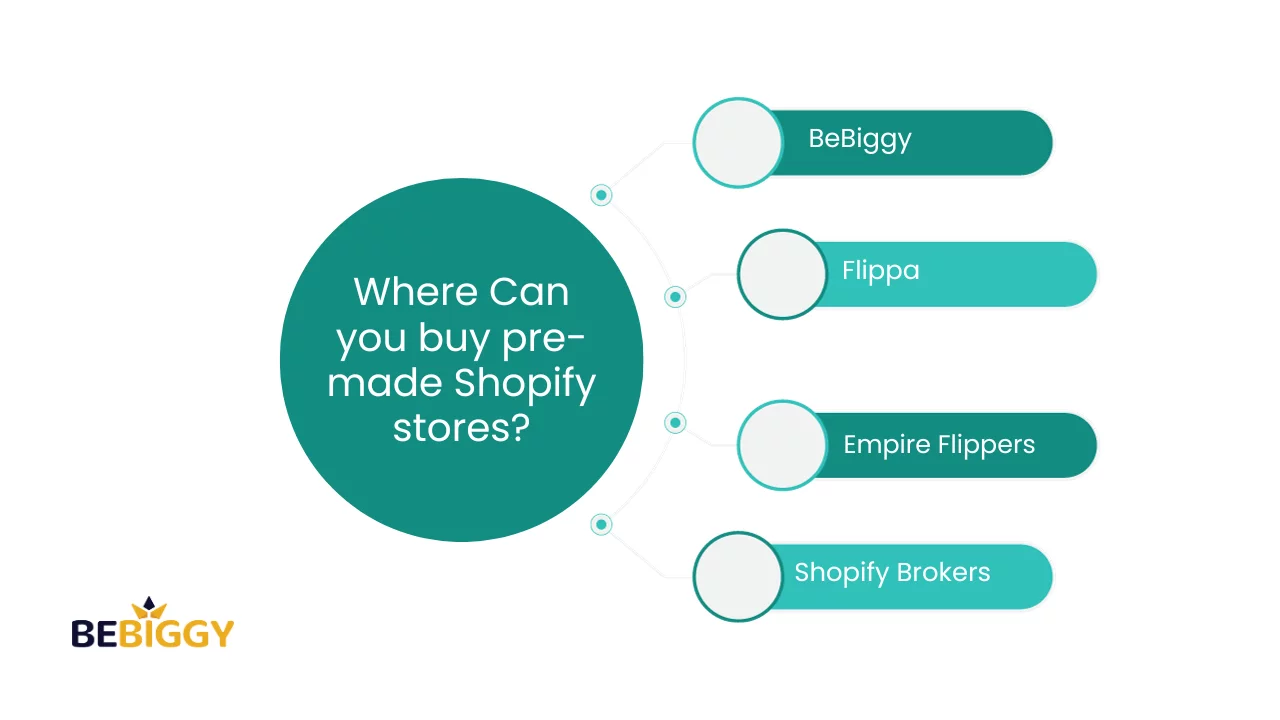
Yes, you can buy pre-made Shopify stores. There are several marketplaces where you can find Shopify stores for sale, such as:
- BeBiggy: BeBiggy is a Shopify dropshipping store builder that helps you create and launch a custom Shopify dropshipping store in minutes, including Product sourcing, Store customization, Marketing and advertising tools, and Customer support.
- Flippa: Shopify stores may be purchased and sold on the well-known online marketplace Flippa.
- Empire Flippers: Empire Flippers is another popular marketplace for buying and selling online businesses, including Shopify stores.
- Shopify Brokers: Some Shopify brokers can help you find and buy a store. Shopify brokers typically understand the Shopify market and can help you find the right store for your needs.
Here are some tips for buying a pre made Shopify store:
- Do your research: Before buying a pre made store, it is important to research and ensure that you are getting a good deal.
- Choose the right store: Once you have researched, choosing the right store to buy is important. Make sure that the store is in a niche that you are interested in and also has a good potential.
- Get a valuation: Before you buy a pre-made store, it is important to get a valuation from a professional. This will help you ensure you are paying enough for the store.
- Use a reputable broker: If you are buying a pre made store, it is important to use a reputable broker. A good broker will help you to find the right store and negotiate the best possible price.
- Be prepared to negotiate: When buying a pre made store, be prepared to negotiate. The vendor could agree to a price reduction or make additional accommodations, including financing or training time.
Why Buy a Pre Made Shopify Store Instead of Starting From Scratch?
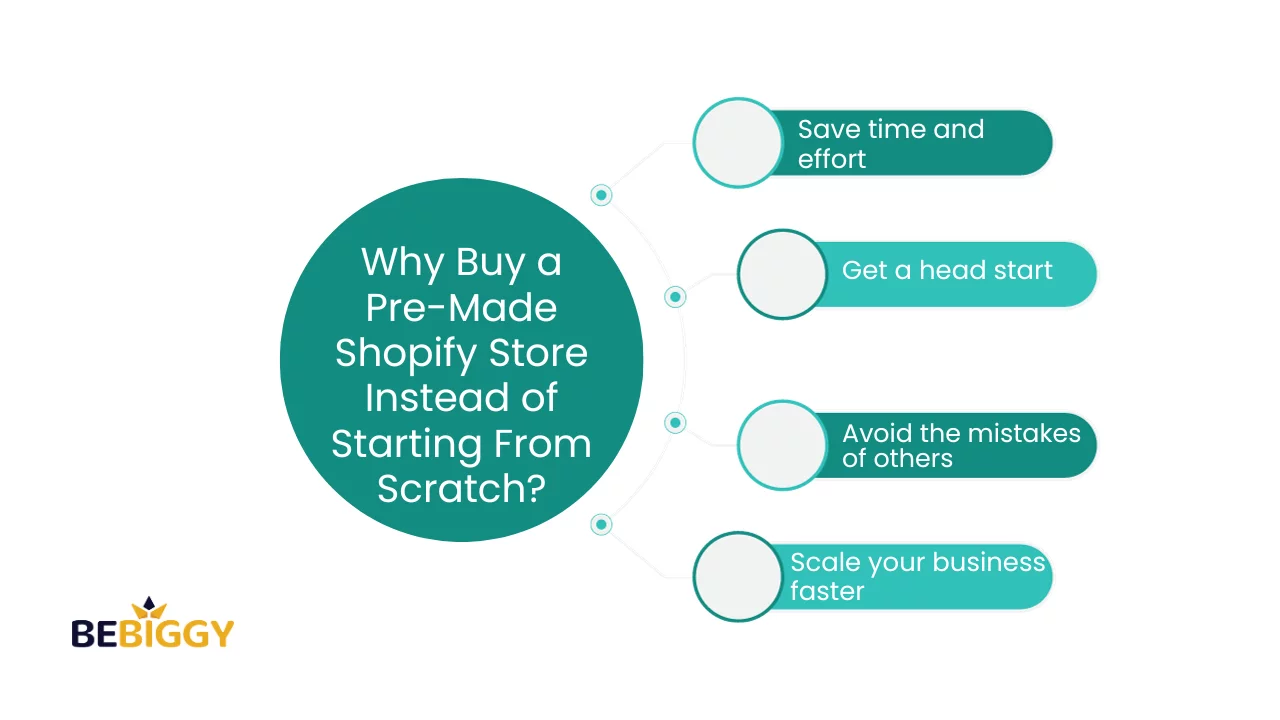
Here are some reasons why you might want to buy a pre made Shopify store instead of starting from scratch:
- Save time and effort: Starting an e-commerce business from scratch can be time-consuming. Buying a pre made store can save you a lot of time and effort, as the store will already be set up with products, a website, and a payment system.
- Get a head start: Buying a premade store can give you a head start on the competition. You will start with an established store with a customer base and a sales track record.
- Avoid the mistakes of others: If you buy a premade store from a reputable seller, you can avoid the mistakes other entrepreneurs have made. The seller should be able to provide you with information about the store’s traffic, sales, and profitability.
- Scale your business faster: If you already have an e-commerce business, buying a pre made store can be a great way to scale your business faster. You can add the new store’s products to your existing store or keep the stores separate.
However, there are also some potential downsides to buying a premade Shopify store:
- Cost: Premade Shopify stores can be expensive, especially if they are profitable and have a strong customer base.
- Quality: Not all pre made Shopify stores are created equal. Some stores may need to be better designed or have updated products. It is important to research and choose a store from a reputable seller.
- Competition: If you buy a pre-made store in a competitive niche, it may not make work stand out.
Are there different types or niches of pre made Shopify stores available for purchase?
Yes, many different types and niches of premade Shopify stores are available. Here are a few examples:
- General merchandise stores: These stores sell a wide range of products, such as clothing, electronics, home goods, and more.
- Niche stores: These stores sell products in a specific niche, such as fashion, beauty, pets, or sports.
- Dropshipping stores: These stores sell products shipped directly from the supplier to the customer.
- Print-on-demand stores: These stores sell products that are printed to order, such as t-shirts, mugs, and posters.
- Subscription box stores: These stores sell subscription boxes filled with products regularly.
- Digital product stores: These stores sell digital products, such as ebooks, online courses, and software.
In addition to these general categories, many more specialized types of pre-made Shopify stores are available for purchase. For example, pre made stores sell products for specific holidays or occasions like Halloween, Christmas, or Mother’s Day. You can also find pre made stores that sell products for specific demographics, such as women, children, or seniors.
The best pre Made Shopify store
Here are some of the best pre built Shopify stores:
1. BeBiggy
BeBiggy is a well-known platform specializing in pre-built Shopify stores, offering a diverse array of fully optimized online businesses across various industries for your selection.
Here are some important stats related to BeBiggy:
- BeBiggy, a popular marketplace for buying pre-built Shopify stores, has facilitated the sale of over 10,000 online businesses.
- The platform boasts an impressive average customer satisfaction rating of 8 out of 5 stars.
- It offers a diverse range of stores across more than 50 different industries.
The typical price range for stores on BeBiggy falls between $119 and $999, providing options for various budgets.
2. Flippa
Flippa is a popular marketplace for buying and selling online businesses, including Shopify stores. Flippa also has a wide variety of pre built Shopify stores available for purchase.
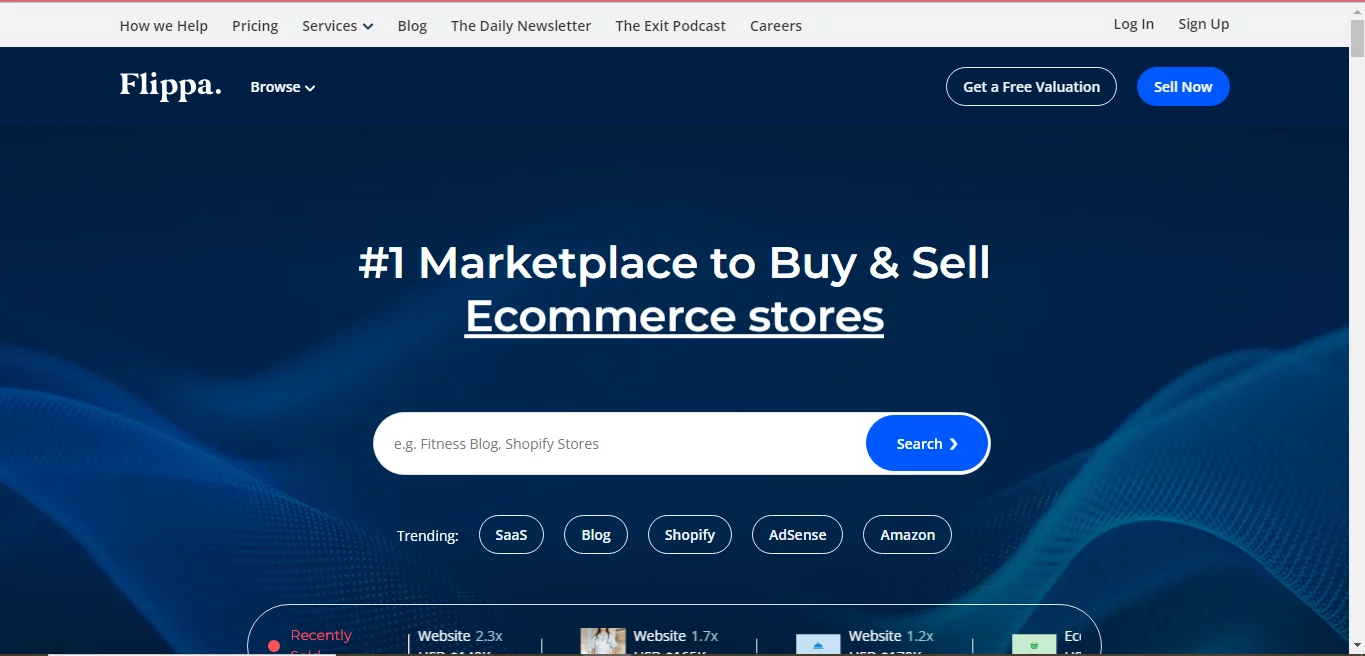
Here are some important stats related to Flippa:
- Flippa, a well-established online business marketplace, lists over 300,000 businesses for sale, encompassing various industries.
- The average selling price for businesses on Flippa typically ranges from $100,000 to $200,000.
- It represents sellers and buyers from more than 190 countries, making it a globally accessible platform.
3. Empire Flippers
Empire Flippers is another popular marketplace for buying and selling online businesses, including Shopify stores. A team of professionals has examined all of the businesses featured on Empire Flippers’ marketplace, so you can be sure you are buying a high-quality store.

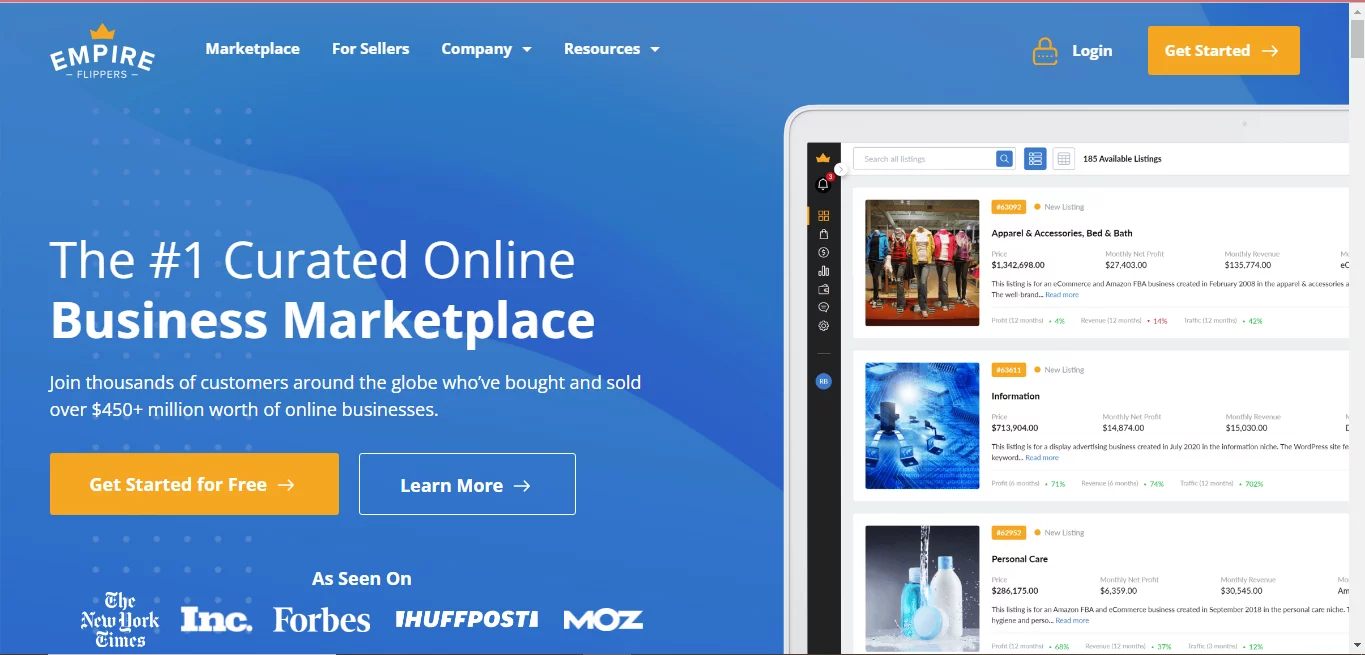
Here are some important stats related to Empire Flippers:
- Empire Flippers specializes in higher-end online businesses, with an average business selling price surpassing $500,000.
- Businesses must fulfill a minimum annual revenue threshold of $100,000 to be included on this platform.
Over 2,000 businesses have been successfully sold through Empire Flippers.
Can buyers customize pre made Shopify stores to fit their brand and business goals?
Yes, buyers can customize pre-made Shopify stores to fit their brand and business goals. Shopify provides several different customization possibilities, including:
- Themes: Shopify offers a variety of free and paid themes that can be used to change the look and feel of a Shopify store. Buyers can also customize existing themes to create a unique look for their store.
- Products: Buyers can add, edit, and delete products from their Shopify store. They can also customize product pages to include images, descriptions, and pricing information.
- Payments: Buyers can choose from various payment processors to accept payments in their Shopify store. They can also customize the checkout process to make it easy for customers to complete their purchases.
- Shipping: Buyers can set up shipping rates and options for their Shopify store. They can also integrate their Shopify store with a shipping carrier to automate shipping.
- Taxes: Buyers can set up tax rates and options for their Shopify store. They can also integrate their Shopify store with a tax service to automate tax calculations.
Yes, buyers can customize pre made Shopify stores to fit their brand and business goals. Shopify provides a variety of customization possibilities, such as:
- Themes: Shopify offers a variety of free and paid themes that can be used to change the look and feel of a Shopify store. Buyers can also customize existing themes to create a unique look for their store.
- Products: Buyers can add, edit, and delete products from their Shopify store. They can also customize product pages to include images, descriptions, and pricing information.
- Payments: Buyers can choose from various payment processors to accept payments in their Shopify store. They can also customize the checkout process to make it easy for customers to complete their purchases.
- Shipping: Buyers can set up shipping rates and options for their Shopify store. They can also integrate their Shopify store with a shipping carrier to automate shipping.
- Taxes: Buyers can set up tax rates and options for their Shopify store. They can also integrate their Shopify store with a tax service to automate tax calculations.
Shopify provides a wide range of additional customization options in addition to these fundamental ones, including:
- Coding: Buyers can edit the code of their Shopify store to make changes to its layout, functionality, and design.
- Apps: Buyers can add apps to their Shopify store to add new features and functionality. Thousands of Shopify apps are available, including marketing, sales, customer service, and more.
- Integrations: Buyers can integrate their Shopify store with other third-party services, such as CRM systems, email marketing, and social media platforms.
Buyers can create a Shopify store unique to their brand and business goals by using these customization options.
Here are some tips for customizing a pre made Shopify store:
- Start with a plan: Before you start customizing your Shopify store, it is important to have a plan. This will help you ensure that you are making changes aligned with your brand and business goals.
- Use themes and apps: Themes and apps can be a great way to customize your Shopify store without writing code. There are many both free and commercial themes and applications, so you will surely find some that are right for your store.
- Test your changes: Before you make any changes to your Shopify store, it is important to test them to ensure they are working as expected. You can do this by creating a test store or by using a staging environment.
- Get professional help: If you are uncomfortable customizing your Shopify store, you can hire a Shopify expert to help you. The specialists at Shopify can assist you with anything from choosing a theme to editing code.
How does the pricing of pre-made Shopify stores compare to starting a store from scratch?
The pricing of pre made Shopify stores varies depending on a number of factors, such as the niche, products, website, traffic and sales, profitability, branding, social media following, customer reviews, SEO, supplier relationships, and store growth potential. However, pre made Shopify stores are generally more expensive than starting a store from scratch.
Here is a comparison of the pricing of pre-made Shopify stores and starting a store from scratch:
Pre-made Shopify stores
- Price range: $119 to $10,000+
- Pros: Save time and effort, get a head start, avoid the mistakes of others, reduce the risk, scale your business faster
- Cons: More expensive than starting a store from scratch, less customization options
Starting a store from scratch
- Price range: $0 to $1,000+
- Pros: Less expensive than buying a pre made store, more customization options
- Cons: More time-consuming and challenging, requires more technical knowledge
Your demands and budget will determine whether you should purchase an existing Shopify store or create a new one from scratch. If you are looking for a quick and easy way to start an e-commerce business, buying a pre made store may be your best option. However, if you are on a tight budget or want more control over the customization of your store, starting a store from scratch may be the better option.
Here are some additional things to consider when deciding whether to buy a pre-made Shopify store or start a store from scratch:
- Your experience: If you have experience with e-commerce and Shopify, you can save money by starting a store from scratch. However, if you are new to e-commerce or Shopify, buying a pre made store may be a better option.
- Your budget: Pre made Shopify stores can be more expensive than starting from scratch. However, there are also pre-made stores available for a variety of budgets.
- Your goals: If you want to start an e-commerce business quickly and easily, buying a pre-made store may be the best option. However, if you want more control over the customization of your store or have long-term goals for your business, starting a store from scratch may be the better option.
Pros and cons of Buying a Pre Made Shopify Store for E-commerce Entry?

Purchasing a pre-made Shopify store can offer several advantages for those looking to enter the e-commerce business:
Pros
- Time and Effort Savings: Pre made stores are already set up with products, designs, and often marketing strategies, reducing the time and effort required to launch.
- Ready-Made Infrastructure: These stores often include website design, payment processing, and other essential e-commerce infrastructure, sparing you the hassle of building these from scratch.
- Product Selection: Pre made stores may already have a selection of products curated for a specific niche, potentially saving you the effort of product research.
- Marketing Assets: Some pre-made stores include marketing materials and strategies, helping you jumpstart your promotional efforts.
- Easier Learning Curve: Pre made stores can provide beginners with a smoother entry into e-commerce with fewer technical and operational challenges.
- Reduced Risk: By acquiring a store with a track record, you can mitigate some of the uncertainties associated with starting a new business.
- Faster Revenue Generation: With an operational store, you can generate revenue faster than building a store from the ground up.
- Support and Training: Some sellers offer support and training to help you effectively manage and grow the pre-made store.
Cons
- Higher Initial Cost: Pre-made stores often come with a higher upfront purchase price than starting from scratch, which can be a barrier for some entrepreneurs.
- Limited Customization: Pre made stores may not perfectly align with your vision, and significant customization might be challenging, particularly if the store is built on a rigid template.
- Hidden Issues: Some sellers may only disclose some issues or challenges associated with the store, such as declining sales, unresolved customer complaints, or poor SEO rankings.
- Market Saturation: Popular niches can become saturated, and pre made stores in highly competitive markets may need help to stand out.
FAQs

Can I buy a premade Shopify store?
Yes, you can purchase pre-made Shopify stores from various online marketplaces and sellers.
Does purchasing a ready-made Shopify store make sense?
The value of purchasing a prebuilt Shopify shop relies on your unique company objectives, your budget, and the store’s quality. It can be a time-saving option with potential benefits, but careful research and due diligence are essential.
Where to buy an existing Shopify store?
You can find existing Shopify stores for sale on platforms like Flippa, and BizBuySell or from private sellers.
Should I buy an existing Shopify store?
Whether you should buy an existing Shopify store depends on your expertise, goals, and the value the store offers. Consider factors like niche, revenue, and potential for growth.
How much does it cost to buy a Shopify store?
The cost of buying a Shopify store varies widely based on factors such as revenue, niche, and included assets. It may cost a few hundred dollars or as much as a few thousand.
How long do Shopify stores last?
The lifespan of a Shopify store varies. With the right strategies and management, a well-operated store can last indefinitely. Others may face challenges and have shorter lifespans.
Why do so many Shopify stores fail?
Shopify store failure can result from factors like poor marketing, product selection, pricing, competition, or lack of business acumen. Success often requires careful planning and execution.
Which country uses Shopify most?
As of my last update in September 2021, the United States had a significant user base for Shopify. However, Shopify is used in many countries around the world.
How many Shopify sellers are successful?
The success rate of Shopify sellers varies widely. Some achieve significant success, while others struggle or fail. The exact statistics may be limited.
How many Shopify stores are there in the USA?
As of my last update, there were over a million Shopify stores globally, with a substantial number in the United States. However, specific numbers may have changed since then.
What is the most profitable Shopify store?
It is challenging to pinpoint the single most profitable Shopify store, as it varies based on niche, product, and marketing strategy. Some of the most profitable stores are often in niches like fashion, electronics, or specialty products.
What is the failure rate of Shopify stores?
The exact failure rate of Shopify stores is challenging to quantify, as it depends on various factors. Many factors, including business strategy, competition, and market trends, influence the success or failure of individual stores.
Conclusion
In conclusion, If you ask me, can you buy pre made Shopify stores?
The answer is Yes. Purchasing a pre-made Shopify store is a convenient way to enter the e-commerce world, saving you time and providing a head start with an existing online business.
However, the decision to buy a pre-made Shopify store should be carefully considered, taking into account factors like your specific business goals, budget, and the quality of the store you’re interested in. Please do your due diligence and extensive study to make sure it supports your goals.
 What Is Shopify Dropshipping and How Does It Work?
 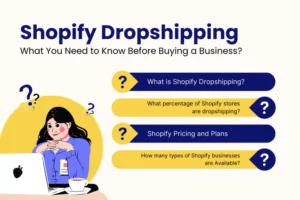 Shopify Dropshipping: What You Need to Know Before Buying a Business?
  How to Dropship on Shopify: Step-by-Step Guide
  Guide to Finding Reliable Shopify Dropshipping Suppliers [100% Success]